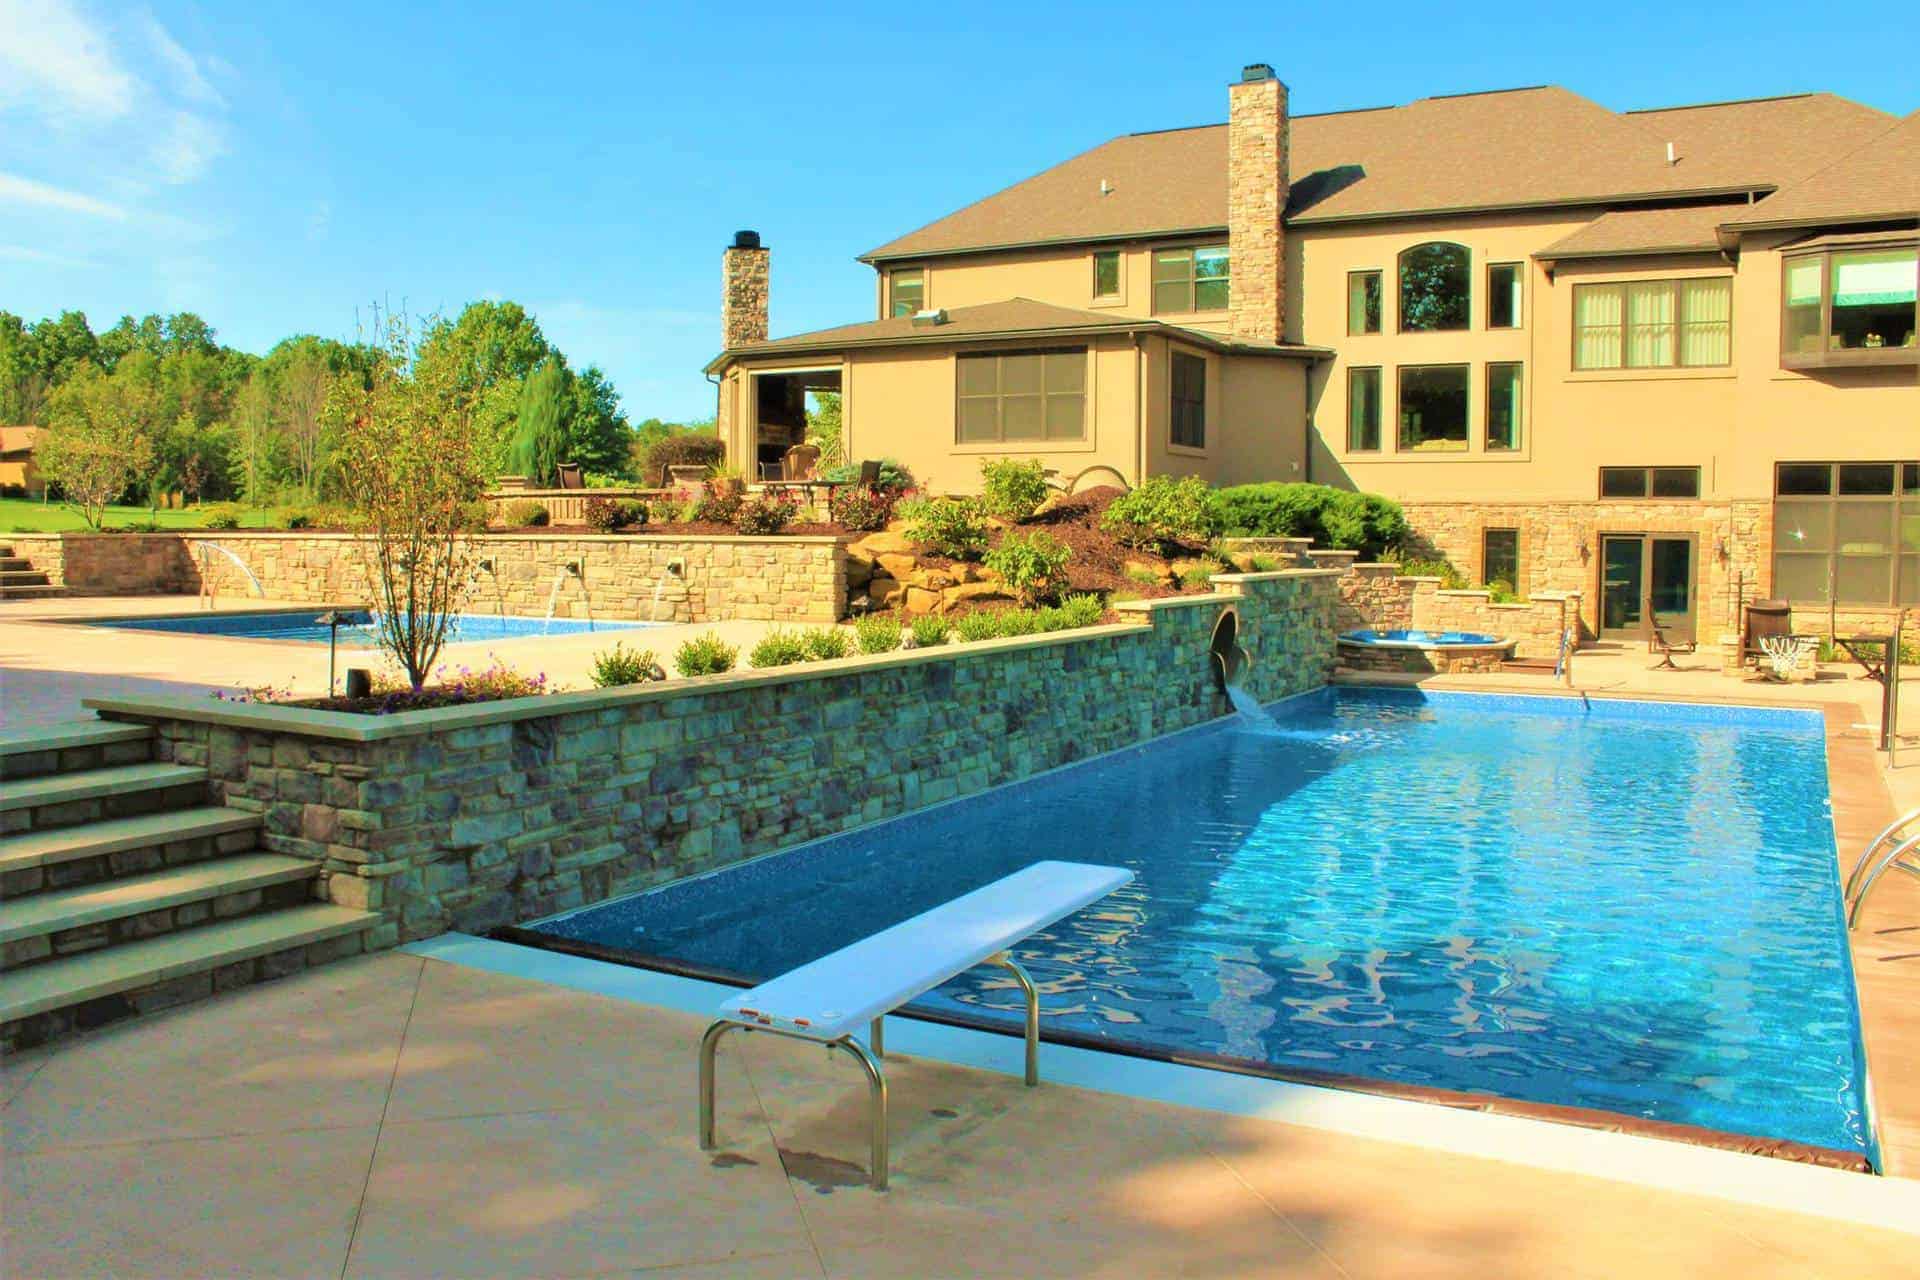
The end of summer is bittersweet. It’s sad to say goodbye to long, sun-drenched days – but the pivot to bonfires, tailgating and all things pumpkin spice sweetens the adjustment!
This is also the time of year to embrace fall and winter prep for next year’s summer fun. Along with leaf cleanup and tree pruning, that means closing your inground pool for winter.
Let’s dive into some tips for a seamless swimming pool closure from the pros at Brothers Grimm.
Determine the Right Time to Close Your Pool
Deciding when to close an inground pool is key. Wait too long and you could risk ice damage. Close it too early and you risk an algae-filled spring surprise.
The climate in your geographic location will largely dictate the best date for closing an inground pool for winter. The sweet spot is typically when daytime temps consistently remain below 65°F (18°C). Keep an eye on local forecasts and predictions.
To prolong your swimming pool season — and delay pool closure chores — consider adding an electric or gas-powered heater. As long as you’re willing to absorb the additional fuel or utility costs, you’ll be able to use your pool until Thanksgiving!
If your region’s weather tends to fluctuate in the off-season, simply test and balance the pool water chemistry on those occasional warmer days. That should help ensure clearer water when the time comes to get your pool ready for summer.
Gather Necessary Supplies
Similar to the summertime routine of maintenance and care for an inground swimming pool, closing a pool involves three Cs: Cleaning, Chemicals and Covering. There’s a little more to it, but those are the basics. And you’ll need many of the same supplies, like:
- A pool brush with a telescoping handle
- A manual pool vacuum
- An algae brush
- Water testing strips or kits
You’ll also need some supplies that are specific to swimming pool closures, including:
- A winter pool cover or safety cover
- Water tubes
- Rubber plugs
- Skimmer plate
- Air compressor
- Submersible pump
- pH increaser or decreaser
- Alkalinity increaser
- Non-copper algaecide
- Chlorine shock
- Metal sequester (optional)
Clean Your Pool Thoroughly
Start by giving the entire pool a good, thorough cleaning. Use the telescoping pool brush to get into all the nooks and crannies of the walls, floor, steps and ledges. Pay particular attention to breaking up traces of algae on the concrete liner with your algae brush. Closing an inground pool for winter when it has any algae in it only sets you up for the daunting job of learning how to get rid of algae next spring.
Once you’ve loosened all the nasty stuff, use your manual vacuum to suck up the debris. An automatic vacuum can help with larger bits, but using both ensures a more complete clean.
Don’t forget the filter and pump! Clean, rinse and air dry the filter before storing it out of the elements. Sand filters can be backwashed and set back to filter. Then be sure to drain all the water out of the filter, pump and heater.
Test, Balance & Shock the Water
Next, test the pool water with your strips or kits to make sure all the levels are in balance. This step ensures the least amount of corrosion and scale build-up over the winter. Use the ph increaser or decreaser and alkalinity increaser to achieve balanced chemistry levels:
- pH: 7.2 to 7.8
- Alkalinity: 80 to 120 ppm
- Chlorine: 1 to 3 ppm
A few days before closing the swimming pool, shock the water with chlorine. This process works best overnight, as sunlight will evaporate the chlorine before it has a chance to work its magic. Let the pump run overnight to circulate the chlorine, then test again the next day to make sure it’s balanced.
At this point, you can add algaecide as a preventative measure against off-season spore growth. Adding a metal sequestering agent is also a good idea if your water contains high metal levels, as in well water. These chemicals will keep those metallic particles from staining your pool’s surfaces.
Blow Out the Plumbing
Leaving any amount of water in the lines of your pool runs the risk of ice damage to the lines, pump and filter. Blowing out the plumbing with an air compressor solves the problem, but it’s a delicate process that can result in costly repairs if not done properly. Reach out to a professional pool cleaning company for help if you’re not confident with this step.
Pool owners in more temperate climates may opt for using a propylene glycol-based antifreeze instead of blowing out the plumbing.
Cover Your Swimming Pool
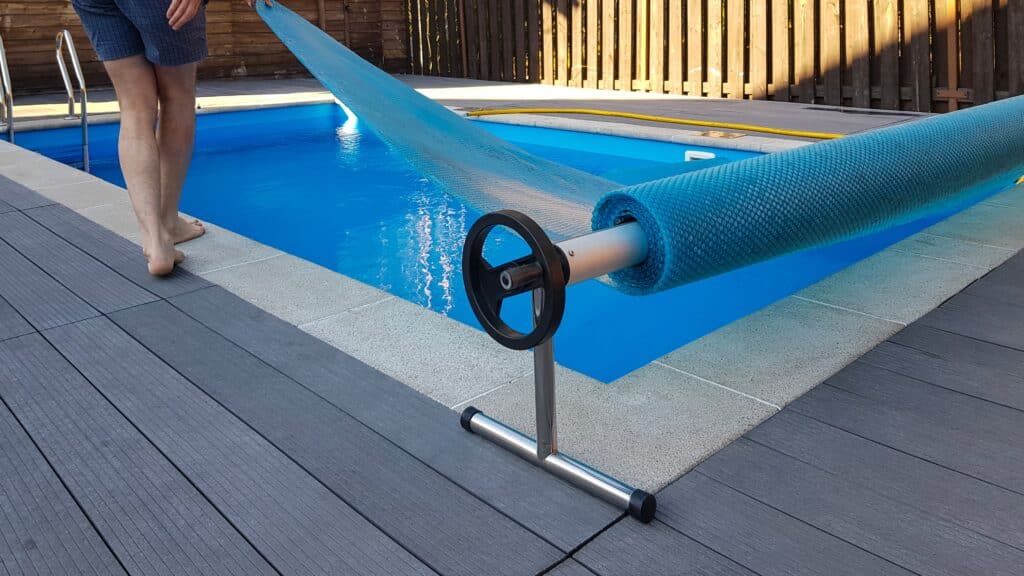
You’re almost done! The final step for a comprehensive swimming pool closure is to cover your pool. You’ve got two basic choices for a cover at swimming pool closing time. Here’s a quick breakdown:
Winter Pool Cover
- Available in mesh and solid options
- Designed to keep debris out of pool water
- Solid options also block sunlight, preventing evaporation and algae growth
- Typically affordable and easy to install
Safety Pool Cover
- Can be used any time of year
- Designed to keep people and pets out of pool water
- Sturdier than winter covers – built to withstand foot traffic and heavier debris
- May protect homeowners from legal liabilities
- Typically more expensive than winter pool covers
Remove all accessories, like ladders and rails, first to ensure a proper, secure fit. Also remove skimmer baskets and the fittings from your return lines. Tip: Toss the fittings into the skimmer basket to keep them corralled until next season.
Let all those items dry completely, then store them someplace out of direct sunlight exposure alongside your pool toys. One of the benefits of a pool house is winter storage space for these items, as well as your outdoor furniture!
Follow the manufacturer’s instructions to install the cover, using water tubes or weights to secure it in place. Snow, leaves and standing water may accumulate on the cover over time, so check on it regularly throughout the off season.
Avoid Common Mistakes
Closing an inground pool for winter isn’t terribly difficult – but it does take a bit of time and know-how. Avoid some common headaches with these dos and don’ts that we may or may not have learned the hard way:
Do:
- Check that chlorine levels are below 5 ppm before covering your pool. Leaving the level higher than that risks destroying the algaecide and other pool additives before they can do their job.
- Protect your skimmer from freeze damage by either draining the pool water below the skimmer level or installing a winter cover plate over the skimmer.
- Safeguard decorative tiles bordering your pool by lowering the water level to at least 4 inches below their bottom edge.
Don’t:
- Leave any water in the plumbing lines, as it can cause expensive damage when it freezes.
- Use antifreeze products formulated for cars or RVs, as they contain alcohol that can damage rubber and plastic components.
- Close your pool if the water is green, pink or any color other than blue. Those colors indicate algae blooms, and sealing them under a pool cover is simply asking for a major cleaning headache come spring.
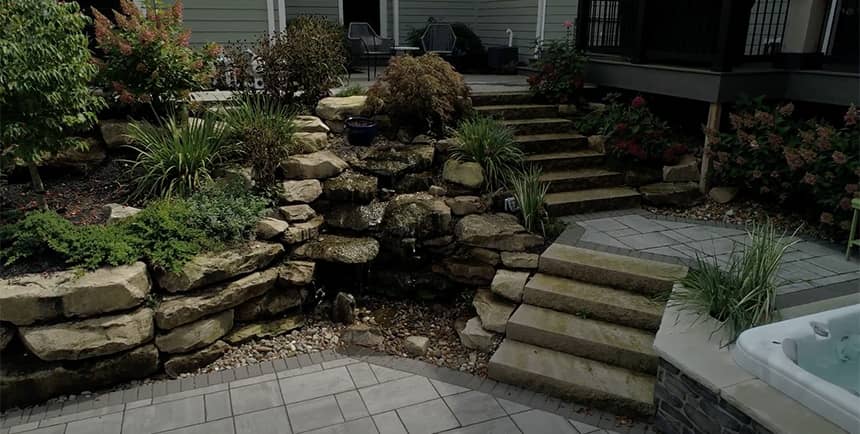
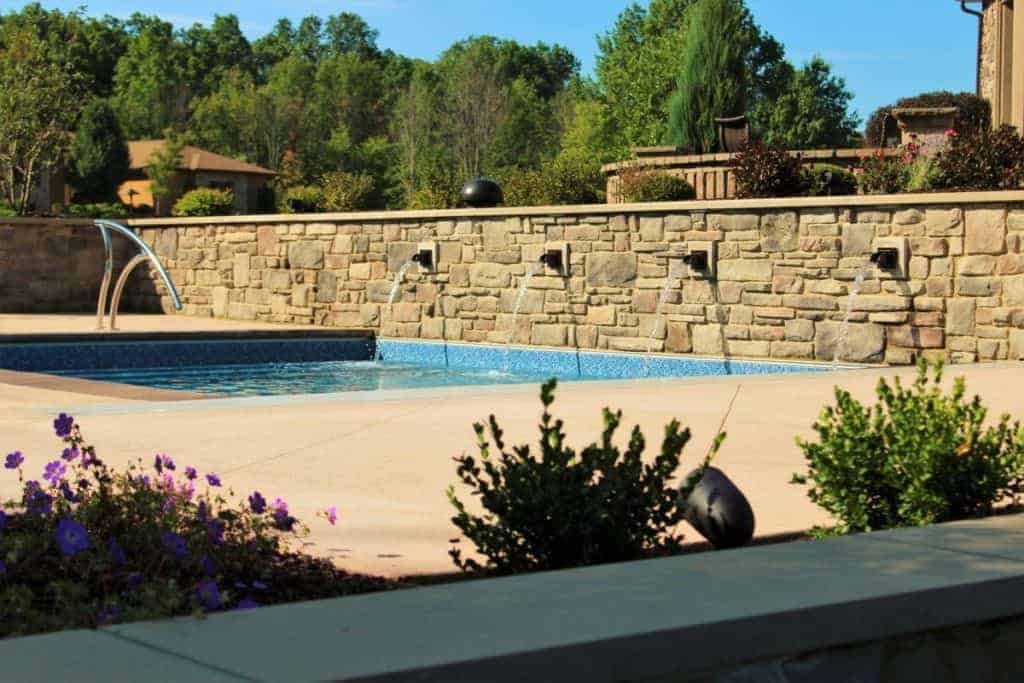
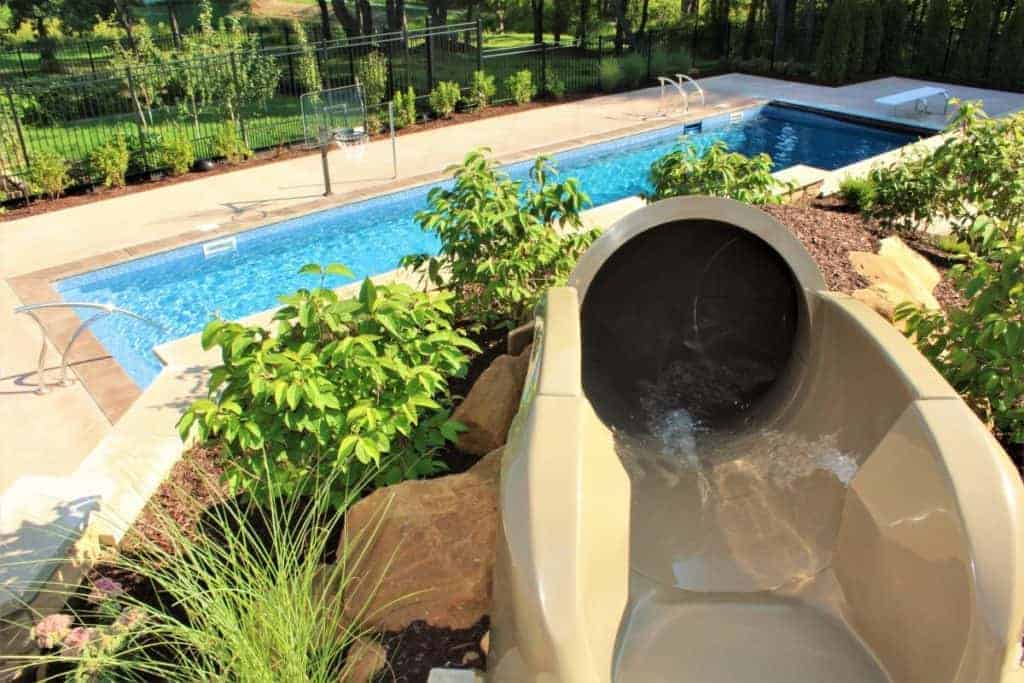
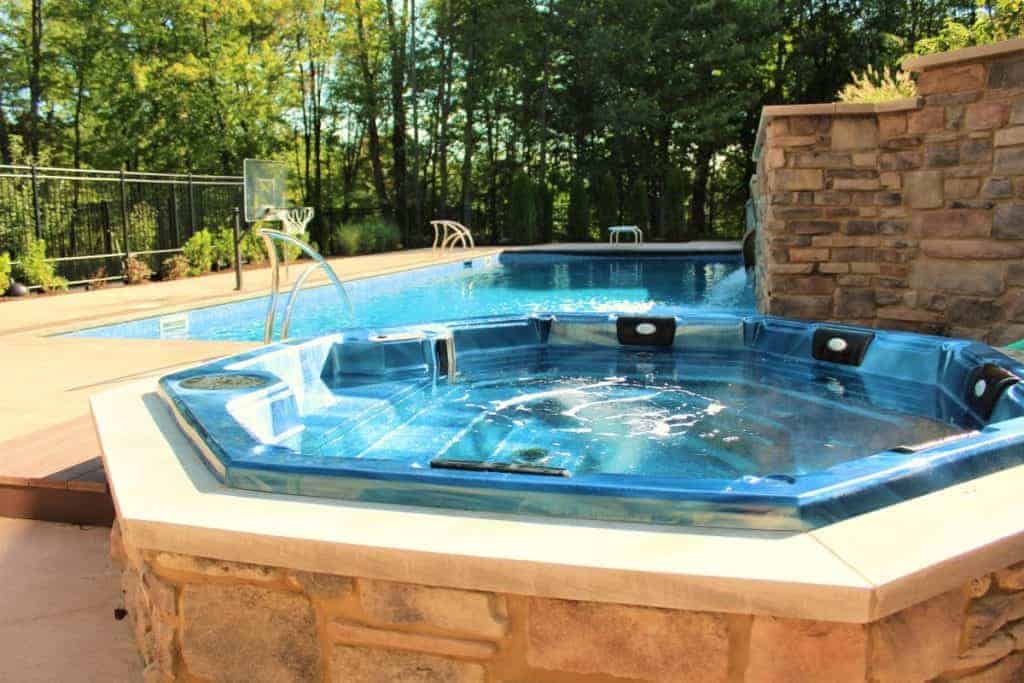
Your Backyard Oasis Experts
Brothers Grimm is your go-to expert for all things pool and landscaping related. If you’ve enjoyed these swimming pool closure tips because you’re thinking of adding an inground pool to your property – and you just wanted to see what’s involved – contact us today! We can walk you through the steps that will bring your dream of a backyard oasis to life.